
pc gaming cable management ideas usually come down to one thing, making cables disappear without making your setup harder to use or troubleshoot later.
If you game on a PC long enough, “wire creep” happens, you add a headset stand, swap keyboards, move a monitor arm, then suddenly your desk looks messy and your feet catch on cords. It also gets annoying when you need to unplug one thing and you have to play detective.
This guide focuses on clean, realistic fixes you can do in an hour or two, plus a few upgrades that make a big difference if you’re willing to drill, mount, or re-route power.
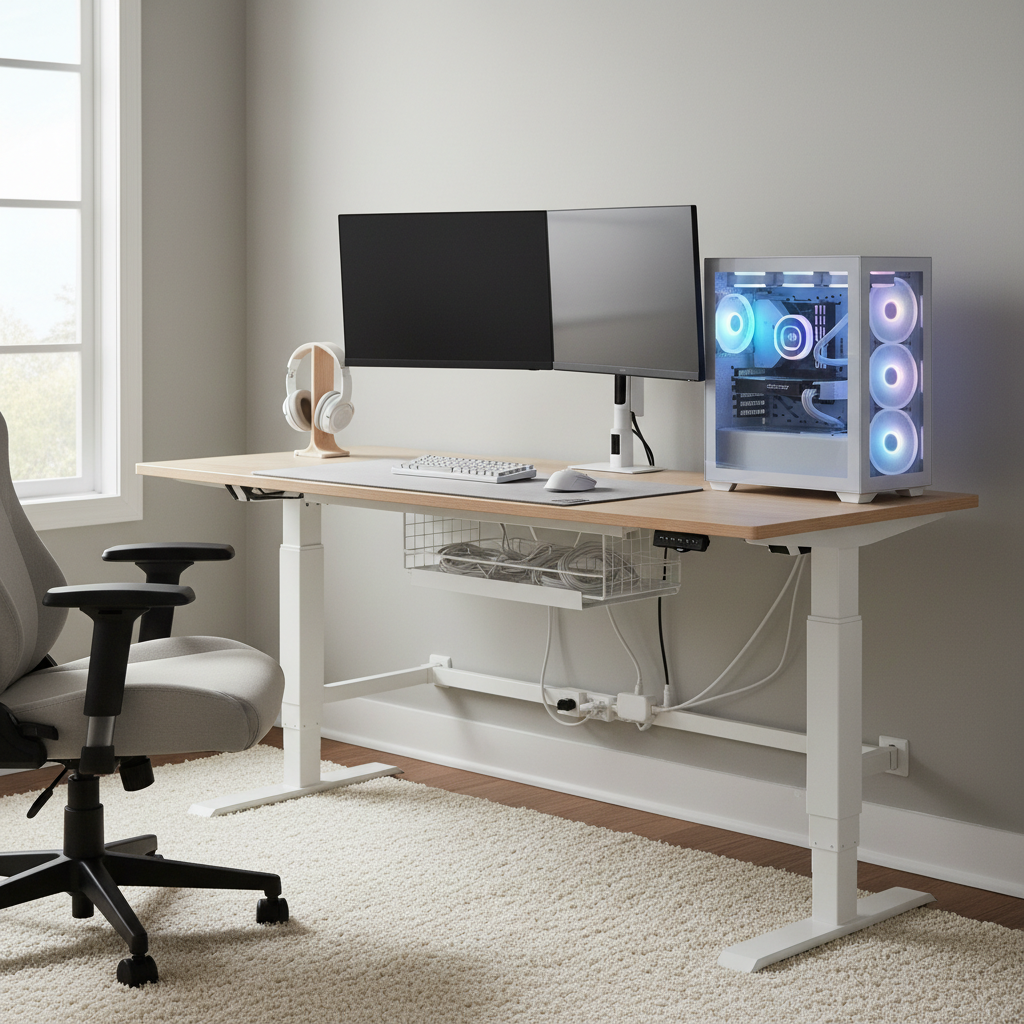
Start with a quick cable “audit” (it saves time later)
Before you buy accessories, figure out what you’re managing. Most messy setups aren’t too many cables, it’s too many unknown cables.
- Unplug and label: power, display, USB, audio, Ethernet. Painter’s tape works fine.
- Separate by destination: “to PC,” “to monitors,” “to console/dock,” “to speakers,” “to charging.”
- Measure slack: too short causes tension, too long becomes spaghetti. You want gentle loops, not tight bends.
- Spot the repeat offenders: chargers, controller cables, and random USB leads tend to multiply.
Key point: don’t bundle everything together yet, bundling too early is how you end up redoing the whole job when you swap one device.
Why cable clutter happens (and what to fix first)
Most cable mess comes from a few predictable patterns, and fixing the right one first keeps the rest manageable.
- No cable “home” under the desk: if your power strip and adapters sit on the floor, cables naturally sprawl outward.
- Mixed power and data runs: everything crosses everything, so nothing lays flat.
- Extra length with nowhere to go: monitor and peripheral cables are often longer than needed.
- Frequent swapping: streamers, controller users, and laptop dock users need flexibility, not permanent bundling.
- Heat and airflow constraints: tight bundles around a PC exhaust area can be counterproductive.
According to OSHA, cords routed through walking areas can contribute to trip hazards, so the “clean look” goal also overlaps with basic safety.
Self-check: which setup are you managing?
Pick the closest match, then use the matching plan in the next section.
- Minimal desk: 1 monitor, PC on desk, a few USB devices, you mainly want invisibility.
- Dual-monitor battlestation: monitor arms, webcam, mic, lighting, lots of data lines.
- PC + console: HDMI swaps, capture card, extra controllers, you need quick access.
- Laptop dock + gaming PC: cables change daily, you need tidy “entry points,” not hard ties.
If you’re not sure, count how often you unplug things weekly. If it’s more than twice, avoid permanent zip ties until the layout feels stable.
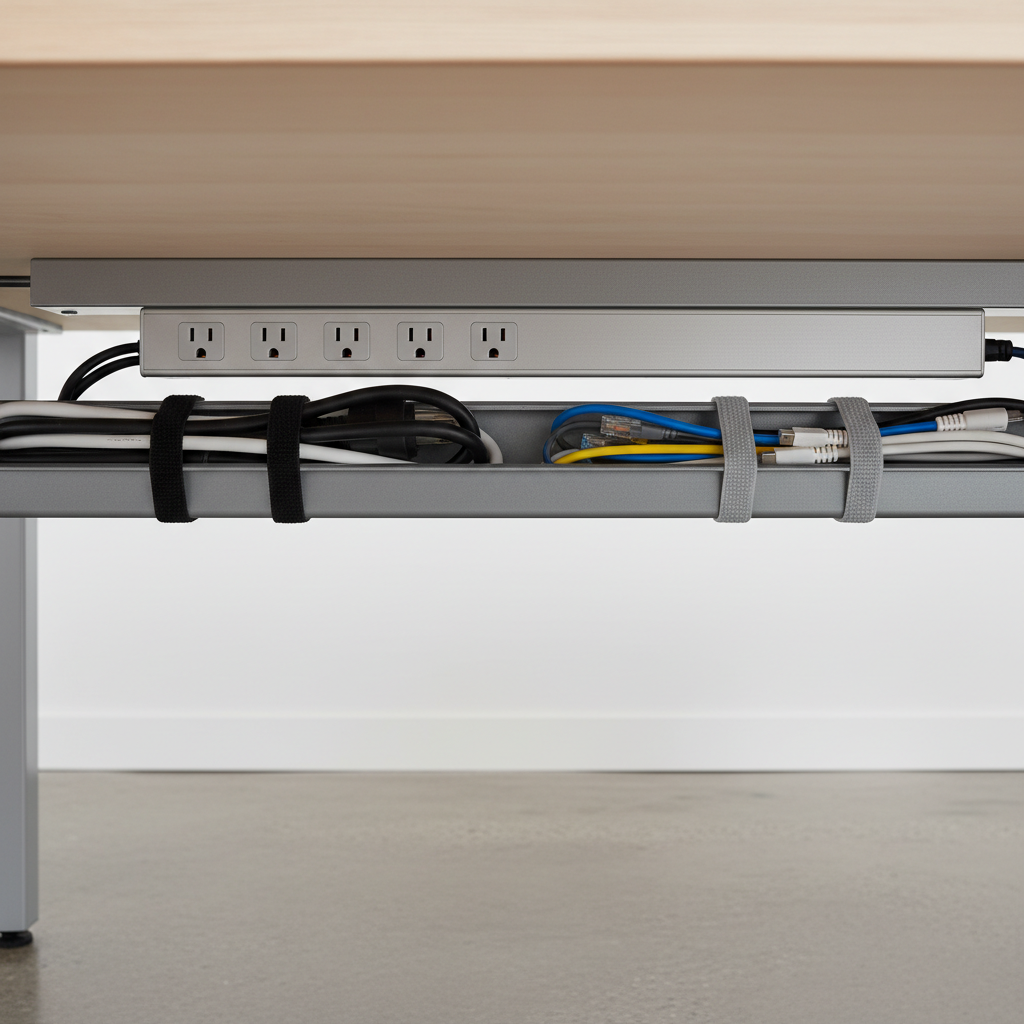
Practical pc gaming cable management ideas by area (desk, PC, wall)
Under the desk: build a “cable basement”
This is the highest ROI move. Once power bricks and the power strip leave the floor, the rest gets easier.
- Mount the power strip to the underside of the desk (screws or heavy-duty adhesive, depending on desk material).
- Add a cable tray behind the desk edge, then tuck adapters inside rather than letting them dangle.
- Use Velcro straps for anything you might change later, they’re forgiving.
- Create one “drop” to the floor (a single bundled line) for the wall outlet.
On the desktop: reduce visible crossings
Even with perfect under-desk work, a mouse cable crossing the desk can ruin the look.
- Route along edges using small clips, especially for keyboard, mouse, and headset cables.
- Shorten the run with a USB hub mounted under the desk or under a monitor shelf, so one cable goes to the PC instead of five.
- Choose a “charging corner” for controllers and a phone, then keep charging cables confined to that zone.
Behind the PC and monitors: keep airflow and access
A clean rear view is nice, but don’t crush cables against vents or block access to ports you use often.
- Separate power and signal when you can, not because of aesthetics, because it reduces tangles and makes troubleshooting less painful.
- Leave service loops (a little slack) for DisplayPort/HDMI so moving a monitor arm doesn’t yank connectors.
- Use monitor arm channels if your arms have them, it’s basically free management.
Along the wall: hide the “last mile”
If your desk isn’t flush to the wall, you usually see the final run to the outlet and internet jack.
- Cable raceways (paintable) keep long runs straight and protected.
- Floor cord covers help if you must cross a walking path, choose low-profile so chairs roll smoothly.
Tools and materials: what to buy (and what to skip)
You don’t need a whole kit, you need the right few items for your desk type and how often you reconfigure.
| Item | Best for | Why it helps | Watch-outs |
|---|---|---|---|
| Velcro cable ties | Most setups | Reusable, easy to adjust | Can slip if not tightened |
| Under-desk cable tray | Power bricks, adapters | Gets clutter off the floor | Check desk thickness before drilling |
| Cable clips | Edge routing | Keeps runs straight and clean | Adhesive may fail on textured surfaces |
| Cable sleeve | One “drop” bundle | Makes multiple cords look like one | Harder to swap a single cable |
| Raceway (wall channel) | Visible wall runs | Clean look, paintable | Plan turns and corners first |
| Zip ties | Permanent sections | Cheap and firm | Easy to over-tighten, not great for frequent changes |
Skipping advice: if you change gear a lot, avoid locking yourself in with zip ties everywhere. Use them only for the “never changes” parts, like the single run to the outlet.
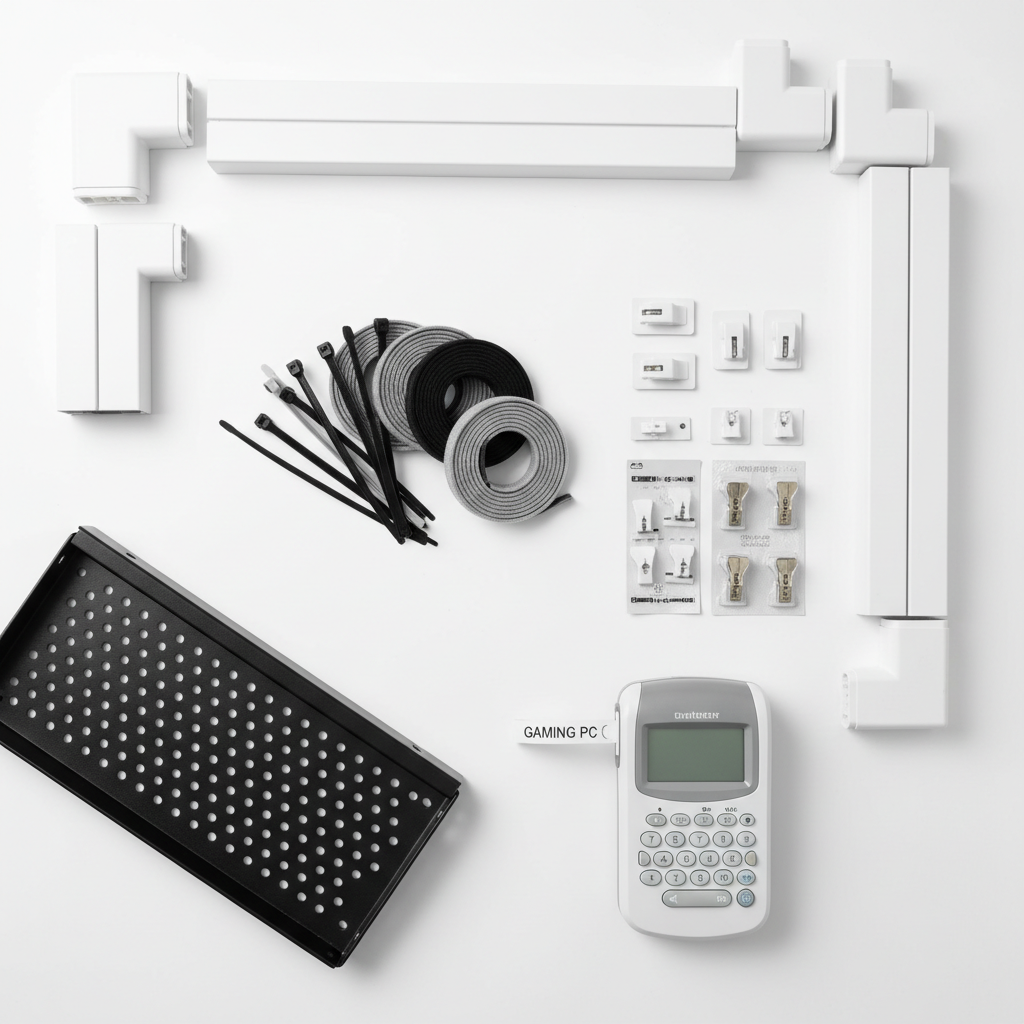
Step-by-step: a clean setup you can maintain
This is the sequence that tends to feel “easy” mid-way through, not just at the end.
- Step 1: Place the power strip under the desk, then route one cord to the wall outlet.
- Step 2: Put all power bricks into the tray, keep them spaced so they don’t press against each other.
- Step 3: Route monitor power and video cables down the same side, leave slack for arm movement.
- Step 4: Add one USB hub near where peripherals land, then run a single upstream cable to the PC.
- Step 5: Bundle by function, power together, display together, USB together, then combine into one “drop” only near the end.
- Step 6: Label both ends of the cables you unplug often, it feels extra until the first time you troubleshoot.
If you’re using RGB controllers or fan hubs inside the case, take a minute to tidy internal cables too, it won’t fix desk clutter, but it helps airflow and serviceability. According to Intel, maintaining good airflow is a practical part of keeping systems stable, so don’t block vents with tight external bundles either.
Common mistakes that make cable management look good for a day
A lot of “perfect” photos fall apart in real life because the setup ignores how you actually use the desk.
- Over-bundling everything: looks neat, then one new device forces a full rebuild.
- Too-tight ties: can stress connectors over time, especially thin USB leads.
- No slack for movement: monitor arms, standing desks, and rolling chairs all need extra play.
- Adapters hanging mid-air: gravity wins, secure the weight in a tray or mount.
- Mixing “temporary” and “permanent”: your charging cable shouldn’t be locked into the same sleeve as your monitor power.
One more: don’t route cords where your chair wheels rub. That’s not just messy, it can become a safety issue, if you’re unsure, a low-profile floor cover often helps.
When it’s worth getting extra help (or slowing down)
If you’re drilling into a desk, mounting to drywall, or running cables across a room, take a cautious approach. If you’re renting, double-check what adhesive products are safe for your wall paint. If you have a complex power situation, like multiple high-wattage devices on one circuit, it may be smart to consult an electrician.
For anything involving power strips, adapters, and heat, follow manufacturer guidance and avoid enclosing power bricks in a way that traps heat. According to the U.S. Consumer Product Safety Commission, using electrical products as intended and avoiding damaged cords helps reduce fire risk.
Key takeaways
- Get power off the floor with a mounted strip and a tray, everything else becomes simpler.
- Manage by zones: under-desk, desktop, behind monitors, wall runs, each zone has its own “best” method.
- Use Velcro first, save zip ties for sections you rarely change.
- Plan for maintenance: labels, service loops, and a charging corner keep it clean long-term.
Conclusion: cleaner desk, easier troubleshooting
Most pc gaming cable management ideas work when they respect how you actually game, charge, swap gear, and move your desk. If you do just two things this week, mount the power strip and add a tray, then label the few cables you unplug regularly, you’ll feel the difference every time you sit down.
If you want, take one photo of your setup before you start, then another after you finish the under-desk “cable basement,” it’s an easy way to spot what still distracts your eye.
FAQ
What’s the easiest cable management fix for a gaming desk?
Mounting your power strip under the desk usually gives the biggest visual change fast, because it removes the main source of floor spaghetti.
Are zip ties bad for PC cable management?
They’re not “bad,” but they’re unforgiving. In many setups Velcro works better for day-to-day changes, and zip ties work best for the final, rarely-changed run.
How do I hide cables if my desk is in the middle of the room?
Focus on making one clean “drop” from the desk to the floor, then use a floor cord cover to route to the outlet, keeping paths out of walkways when possible.
Should I run power and data cables separately?
When it’s convenient, yes, mainly for organization and easier troubleshooting. You don’t need perfection, just avoid tangles and leave access to ports you use.
How do I manage cables for a dual-monitor gaming setup with monitor arms?
Use the arm’s built-in channels if available, leave slack for movement, and anchor the bundle under the desk so it doesn’t pull when you adjust monitor position.
What if I swap devices a lot for streaming or work?
Build flexibility in, a mounted USB hub, Velcro ties, and labeled ends keep things tidy without locking you into one layout.
Can cable management improve PC temps?
Sometimes, especially if cables block vents or restrict airflow near the case. It’s not a guaranteed temperature “upgrade,” but good airflow habits can help stability.
If you’re trying to get a cleaner battlestation without losing the ability to change gear, a simple plan is to pick one under-desk tray, one set of Velcro ties, and one routing path for your “main drop,” then refine from there as your setup evolves.