
How to clean vr headset properly comes down to two priorities: protect the optics and keep anything that touches your face hygienic, without soaking sensors or ruining coatings.
If you share a headset with family, use it for workouts, or store it in a dusty room, small “eh, it’s fine” habits add up fast: foggy lenses, sweaty odor in the facial interface, and even tracking hiccups because cameras can’t see clearly.
This guide breaks the job into quick daily wipe-downs and deeper weekly cleanings, plus a few “don’t do this” mistakes that cost people money. You’ll also get a simple checklist so you can decide what your headset needs today, not what an internet comment says you must do.
What to clean (and what you should avoid)
Most headsets have a few zones that look similar but tolerate very different cleaning methods. Treating everything the same is where people get into trouble.
- Lenses: delicate coatings, scratch easily, dislike moisture and harsh chemicals.
- Facial interface / face pad: absorbs sweat and skin oils, may be foam, fabric, or silicone.
- Straps: fabric traps odor, plastic straps collect grime at edges.
- External cameras and sensors: usually glass or hard plastic, but still easy to smear.
- Ports and vents: should stay dry, dust-only cleaning in most cases.
In practice, what you should avoid is simple: anything that can scratch, dissolve, or drip. That means paper towels, household glass cleaner, bleach, abrasive cloths, and spraying liquid directly onto the device.
According to Centers for Disease Control and Prevention (CDC), cleaning removes dirt and many germs from surfaces, while disinfecting uses chemicals to kill germs; on electronics and optics, you typically want “cleaning” most of the time and only limited, manufacturer-approved disinfection when needed.
Quick self-check: do you need a wipe or a deep clean?
Before you start, take 30 seconds and decide the level of cleaning. This saves time and reduces the chance you over-wet something.
Do a quick clean if:
- Lenses look fine but have a few smudges
- Face pad feels slightly oily after a session
- You used it solo and it wasn’t a heavy workout
Do a deeper clean if:
- The facial interface smells, or feels damp even after drying
- Multiple people used the headset recently
- Tracking feels “off” and cameras look hazy or fingerprinted
- You see skin flakes or makeup residue on the pad edges
If anything looks like liquid got inside, or you notice odd behavior after cleaning, pause and check your device support page before doing more.
Tools you actually need (keep it simple)
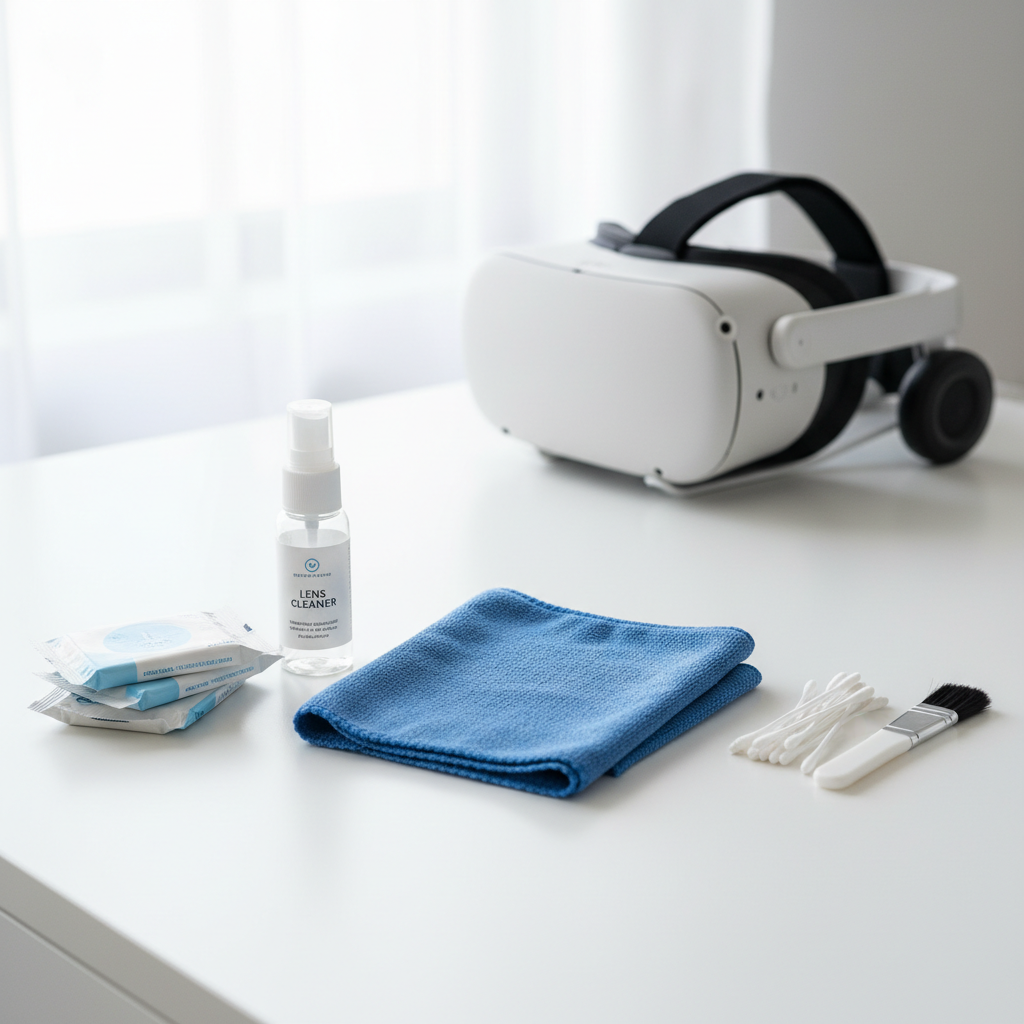
You don’t need a big “electronics detailing” set, but you do need the right materials. These are the items that cover most home setups.
- Microfiber cloth (lens-grade if possible), clean and dry
- Lens-safe wipes or a lens-cleaning solution meant for coated optics, used sparingly
- Non-abrasive wipes for plastics, ideally alcohol-free unless the manufacturer approves
- Soft brush or clean makeup brush for dust around seams
- Cotton swabs for tight edges, used dry or barely damp
Tip that saves frustration: keep one microfiber cloth reserved for lenses only. If you use the same cloth on the face pad, you risk dragging tiny grit onto the lenses later.
Step-by-step: how to clean lenses without scratches
This is the part people rush, then regret. Lenses are durable enough for normal use, but not for aggressive rubbing.
- Power off and unplug (or detach battery pack if your model allows).
- Blow or brush off dust first. Rubbing dust is how micro-scratches happen.
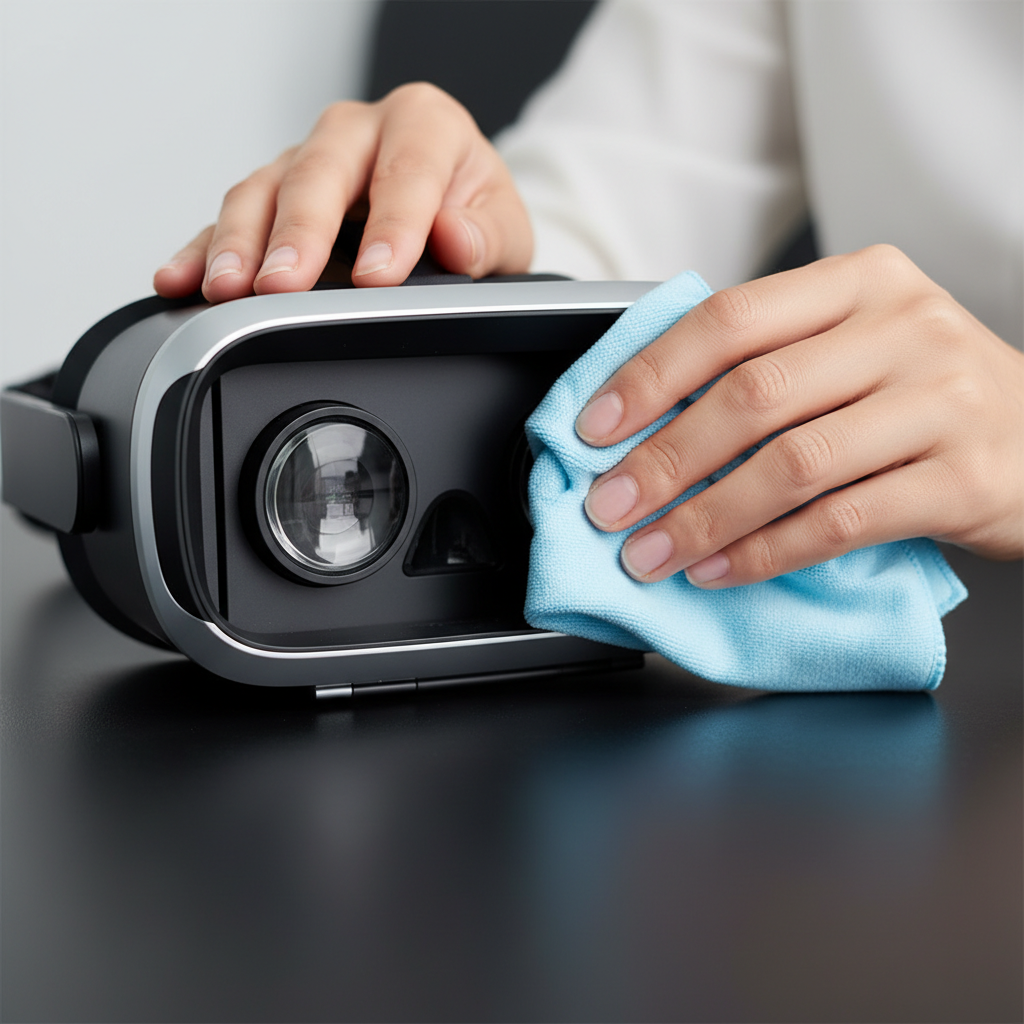
- Use a dry microfiber cloth, gentle circular motions from center outward.
- If smudges persist, lightly dampen the cloth with lens-safe solution, never spray the headset.
- Finish with a dry section of the cloth to remove any moisture haze.
If you wear glasses inside the headset, pay extra attention here. Many lens scuffs come from glasses frames rubbing during play, and cleaning won’t fix that, it only makes the scuff more visible.
Step-by-step: cleaning the face pad and straps (hygiene without damage)
This is where “clean” and “not ruined” can compete. Foam, fabric, and silicone behave differently, so match the method to the material.
Facial interface: common approaches by material
| Part / Material | What usually works | What to avoid |
|---|---|---|
| Silicone cover | Warm water + mild soap, air dry fully | Harsh cleaners, hot water, scrubbing pads |
| PU leather / “leatherette” | Lightly damp cloth, mild soap if needed, wipe dry | Soaking, alcohol-heavy wipes that can dry/crack |
| Foam / fabric pad | Manufacturer guidance, light surface wipe, longer air dry | Drenching, high heat, machine drying |
| Fabric straps | Light wipe, spot clean, air dry | Over-wetting near attachment points, direct sun for hours |
For most people, a safe default is: wipe the facial interface with a lightly damp cloth, then follow with a dry cloth, then let it air dry somewhere clean. If you want to disinfect because you’re sharing a device, check the headset maker’s guidance first because some materials react poorly to alcohol or strong disinfectants.

Cleaning external cameras, sensors, and vents (tracking-friendly)
If tracking feels unreliable, cleaning might help, but only if the issue is smears or dust on the outward-facing cameras. Don’t poke into holes or vents with wet swabs.
- Cameras/sensor windows: use a clean microfiber cloth, the same way you’d clean eyeglasses.
- Creases and seams: use a dry soft brush to lift dust, then wipe the surrounding plastic.
- Ports and vents: dry brush only, and keep liquids away.
According to Federal Trade Commission (FTC) guidance on care for consumer electronics, it’s generally safer to follow manufacturer instructions and avoid liquids near openings, since moisture intrusion can cause damage that looks like “random glitches.”
Common mistakes that quietly ruin headsets
These show up again and again, even with careful people.
- Using paper towels on lenses: they can scratch, especially if there’s dust.
- Spraying cleaner directly: overspray finds vents, seams, and sensor gaps.
- Heavy alcohol use on face pads: can dry out coatings or degrade “leatherette.”
- Putting parts back damp: invites odor and, in some cases, mildew.
- “One wipe for everything”: moves skin oils to lenses, then you polish a smear.
One more subtle one: leaving the headset in direct sunlight to “dry faster.” Many headsets are sensitive to heat, and lenses can concentrate light in ways that are not friendly to displays.
A simple routine you can stick to (daily, weekly, shared use)
Most cleaning advice fails because it’s too ambitious. This routine is short enough that you’ll actually do it.
After each session (2 minutes)
- Dry microfiber on lenses if needed
- Quick wipe of face pad contact area
- Let the headset air out for a bit before storing
Weekly (10–15 minutes)
- More thorough face pad cleaning based on material
- Wipe straps where they touch hair and neck
- Check cameras for smudges and dust
When sharing with others
- Use removable, wipeable covers when possible
- Give the facial interface time to fully dry between users
- If you choose disinfecting wipes, confirm compatibility with your headset materials
If your goal is to how to clean vr headset properly without turning it into a chore, consistency beats intensity. Gentle, frequent cleaning usually keeps you away from harsh chemicals and deep-scrub situations.
When it’s worth contacting support or a professional
Cleaning helps with smudges, oils, and surface grime. It doesn’t fix internal fogging, display issues, or hardware faults, and pushing harder can make things worse.
- You see condensation inside lenses or behind camera windows
- Tracking problems persist after gently cleaning camera windows
- Buttons stick, ports feel gritty, or you suspect liquid exposure
- The facial interface has cracking, flaking, or skin irritation appears after use
In those cases, it’s reasonable to consult the manufacturer’s support resources or a qualified electronics repair provider, especially if the device is under warranty.
Conclusion: keep it clean, keep it gentle
Knowing how to clean vr headset properly is mostly about restraint: dry dust removal before wiping, minimal moisture, and the right cloth in the right place. Do the small clean after each session, schedule a weekly reset, and your lenses and face pad usually stay in good shape.
If you want one action today, clean the lenses with a dedicated microfiber and let the headset air out before storage, that simple habit prevents most “why does it look and smell like this?” moments.
Key takeaways:
- Dry first, then wipe, especially on lenses
- Don’t spray anything directly on the headset
- Match the method to face pad material
- Air dry fully before the next session