
Best VR Lens Protector for Quest 3: what to buy and why it matters
Best vr lens protector for quest 3 usually comes down to one thing: protecting the optics without adding glare, blur, or annoying fit issues. If you have even one small scratch, you already know how hard it is to “unsee” it in bright scenes, menus, and high-contrast games.
Lens protectors sound simple, but Quest 3 makes the choice a little trickier because of pancake lenses, tighter facial interface tolerances, and how often people swap accessories or share the headset. A protector that’s “fine” on another headset can create haze, edge reflections, or pressure marks here.
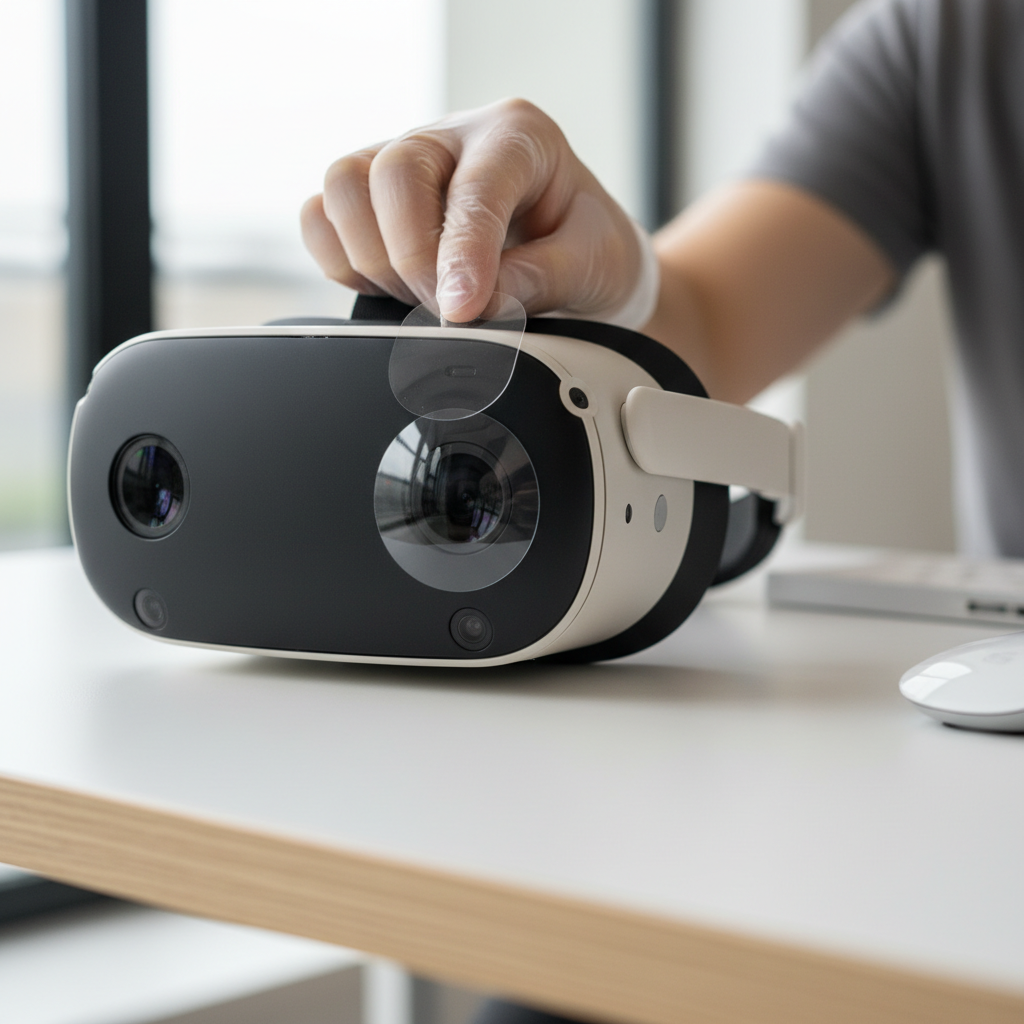
This guide focuses on what actually changes the outcome: material type, coating quality, fit, and your real-world use case, kids, glasses, fitness sweat, travel, or just being careful but not perfect. You’ll also get a quick comparison table, a simple self-check, and a practical install routine that avoids the most common “I ruined my first protector” moment.
What a Quest 3 lens protector should (and should not) do
A good lens protector sits in the background. You forget it exists until the day it saves you from a scratch, smudge, or an accidental glasses rub.
- Protects against micro-scratches from cleaning, dust, eyelashes, and glasses contact.
- Doesn’t add glare in bright UI screens or high-contrast scenes.
- Maintains clarity across the center and edges, no “soft focus” layer.
- Fits without pressure so it doesn’t interfere with facial interfaces or lens spacing.
What it should not do: create rainbow reflections, trap visible bubbles, or force you to push the headset closer to your face. If you feel the urge to “just press harder,” something about the fit or alignment is off.
Types of lens protectors for Quest 3: which one fits your situation
Most options fall into three buckets. The right pick depends less on price and more on how you use the headset week to week.
1) Thin film protectors (PET/TPU)
These are the classic “screen protector style” films. They tend to be cheaper, very thin, and less likely to affect lens spacing.
- Pros: minimal thickness, usually easier fit clearance, often lower risk of edge reflections.
- Cons: less impact resistance, can scuff over time, install can be fiddly if the film is soft.
2) Tempered-glass style protectors
Some brands sell rigid protectors marketed like phone glass. They can feel premium, but the tradeoff is thickness and potential for reflections if the coating is mediocre.
- Pros: better scratch resistance, easier to wipe clean, tends to feel “solid.”
- Cons: thickness can matter, edge glare is more common, fit can be less forgiving.
3) Lens inserts (prescription or plano)
These are not “stick-on” protectors, they’re magnetic or clip-in inserts that sit in front of the lenses. Many people who wear glasses prefer this route because it reduces glasses-to-lens contact risk.
- Pros: excellent protection from glasses rub, easy to remove/clean, can double as prescription correction.
- Cons: costs more, adds another optical surface, quality varies by brand and coatings.
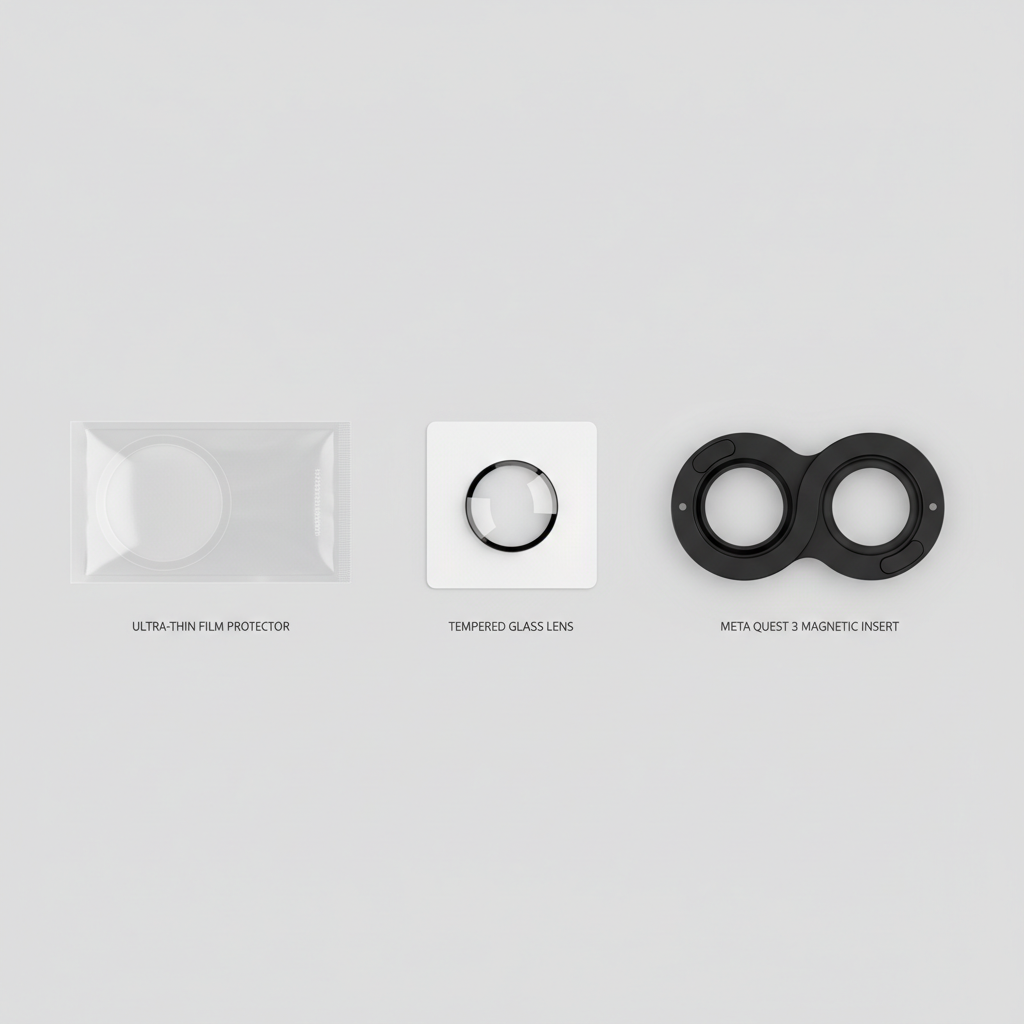
Quick comparison table: what to prioritize when buying
You’ll see a lot of listings that look similar. This table helps you filter by the stuff that actually changes your experience.
| Option type | Best for | Risk of glare/halo | Install difficulty | Notes for Quest 3 |
|---|---|---|---|---|
| Thin film (PET/TPU) | Most users who want low-profile protection | Low to medium (depends on coating) | Medium | Great if you worry about thickness and face interface clearance |
| Tempered-glass style | People who clean often and want tougher surface | Medium to high (varies a lot) | Low to medium | Check reviews for edge reflections and fit with your interface |
| Lens inserts (plano/prescription) | Glasses wearers, shared headsets, frequent use | Low to medium (depends on AR coating) | Low | Often the cleanest solution for glasses-to-lens scratch prevention |
Self-check: how to tell what you need in 60 seconds
If you want the best vr lens protector for quest 3 for your use, don’t start with brands, start with friction points. Answer these quickly and your choice narrows fast.
- Do you wear glasses in VR? If yes, strongly consider lens inserts, they reduce the most common scratch scenario.
- Do you share the headset? For family use, inserts or durable film usually age better than “bare lens + careful cleaning.”
- Do you play fitness apps and sweat? Prioritize easy cleaning and coatings that resist smears.
- Do you hate glare? Avoid cheap, unbranded “universal” protectors, look for anti-reflective (AR) or anti-glare language and credible feedback.
- Do you swap facial interfaces? Go thinner, thick protectors can create clearance surprises.
One more: if you already see mild haze or rings in bright scenes, you might be sensitive to reflections. In that case, a higher-quality film or well-coated inserts often feel safer than thick glass-style protectors.
How to choose: the buying criteria that matter (and the ones that don’t)
Listings often focus on hardness ratings and bold marketing. In practice, these details matter more.
Look for these signals
- Optical clarity language that’s specific: terms like “high transparency” are vague, but notes about AR coating, reduced reflections, or tested clarity tend to be more meaningful.
- Precise Quest 3 fit: “compatible with Quest 3” is not the same as “cut for Quest 3 lens geometry.”
- Good install kit: dust stickers, microfiber, and a rigid alignment frame can reduce frustration.
- Reasonable return policy: protectors can fail due to dust, shipping bends, or user install, policy matters.
Don’t over-weight these
- Extreme hardness claims: they’re hard to compare across brands and don’t guarantee low glare.
- “Military grade” wording: it’s usually just marketing unless the brand explains materials and testing.
- Bundles with random extras: you’ll care more about coating and fit than a free strap cover.
According to Meta, direct sunlight through VR lenses can damage the display, so storage habits still matter even with protection. A lens protector helps against scratches, not sun exposure.
Installation that actually works: fewer bubbles, less dust, less regret
The install step is where most people decide protectors “aren’t worth it.” It’s usually not the protector, it’s dust, pressure, and rushing.
Prep (don’t skip this)
- Wash and dry hands, then wait a minute so fingers aren’t steamy.
- Use a bright light at an angle to spot dust on the lens area.
- Clean with a dry microfiber first, then use the included dust sticker if any specks remain.
- Turn off fans and avoid doing this near laundry, pets, or open windows.
Apply
- Align without removing the full backing at first, “hinge” one side if the kit supports it.
- Lower slowly, let it land from one side to the other.
- If a bubble forms, push it to the nearest edge using gentle pressure with the included card or cloth.
If you trap a speck of dust
Don’t mash it down. Lift that corner carefully, remove the speck with a dust sticker, then lay it back. Most films tolerate one or two careful lifts, but repeated peeling increases edge lift risk.
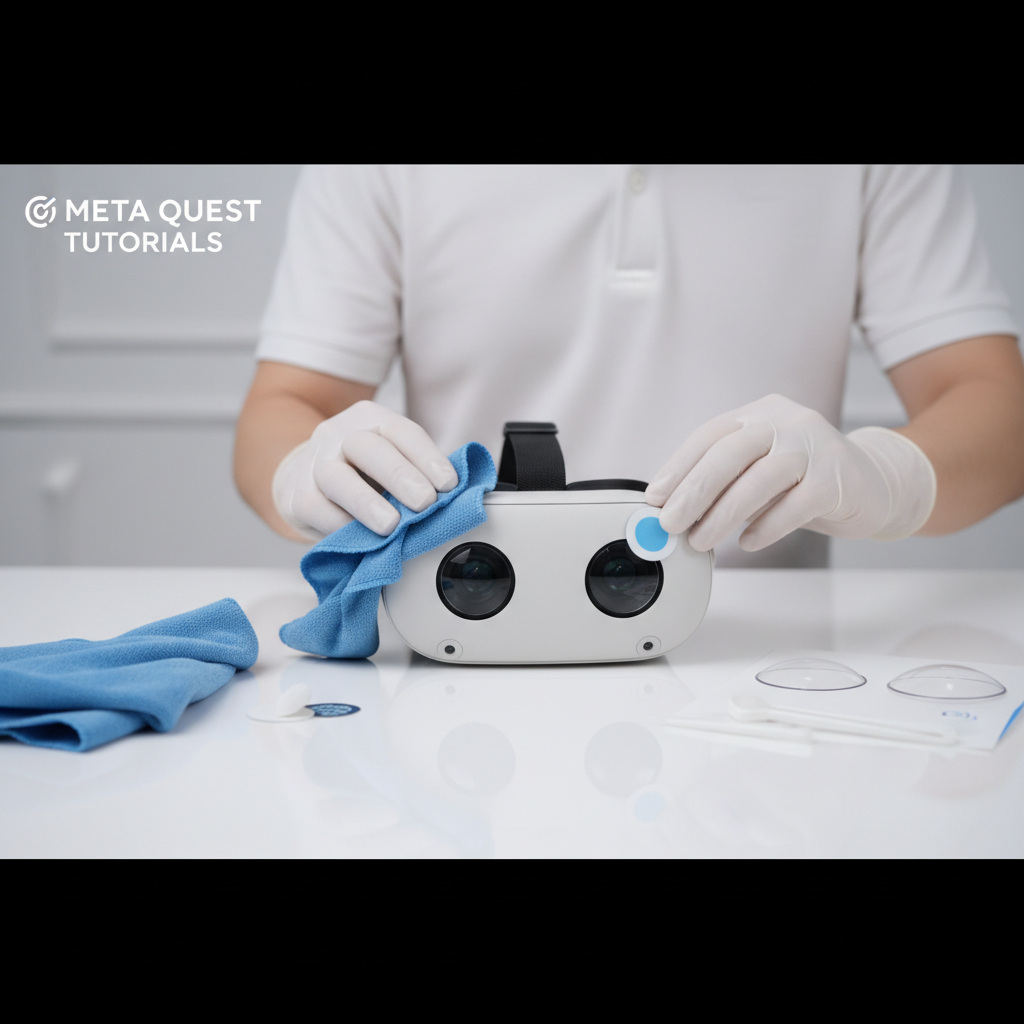
Common mistakes and how to avoid them
Most “this protector is blurry” complaints come from a handful of predictable issues.
- Installing on a slightly dirty lens: even invisible oil can create haze patterns, dry microfiber first helps.
- Using liquid cleaners: many VR lens makers recommend avoiding liquids on lenses; if you’re unsure, follow headset manufacturer guidance and the protector brand’s instructions.
- Choosing thickness without checking clearance: facial interface swaps, lens spacing settings, and long eyelashes can make contact more likely.
- Assuming all AR coatings are equal: cheaper coatings can create more internal reflections, especially in bright menus.
- Ignoring storage: tossing the headset in a bag without a cover can grind dust into the surface over time.
If you want the best vr lens protector for quest 3 and you play a lot of fitness or share with family, prioritize easy cleaning and consistent coating quality over “toughest” claims. Your day-to-day annoyance usually comes from glare and smears, not dramatic impacts.
When to consider professional help or a different approach
If you already have scratches or persistent haze that cleaning doesn’t fix, a protector won’t remove it, it only prevents new damage. In that situation, you might want to talk to the retailer or manufacturer about options, and for prescription inserts, it’s reasonable to consult your eye care professional to confirm your prescription and lens needs.
Also, if you get headaches or eye strain after adding a protector, remove it and test again. Discomfort can have multiple causes, IPD settings, strap fit, or optics changes, and a cautious approach beats forcing yourself to adapt.
Key takeaways and a simple recommendation path
Here’s the clean decision path most people end up with after trying a couple approaches.
- Glasses wearer or shared headset: lens inserts often feel like the most practical “set it and forget it” protection.
- Solo user, wants minimal change: high-quality thin film protectors tend to preserve comfort and clarity.
- Heavy cleaning, higher scratch risk: consider tougher surfaces, but watch for glare and fit issues.
If you’re shopping today, make your short list based on fit precision for Quest 3, coating quality, and a kit that makes installation less annoying. That combo is what usually separates a protector you keep from one you peel off after a week.
Action step: pick your category (film, glass-style, or inserts), then read the most critical reviews for two things only, “glare/halo” and “fit/clearance.” If both look clean, you’re probably in good shape.
FAQ
Will a lens protector reduce image quality on Quest 3?
It can, especially if the coating is poor or the protector sits slightly misaligned. A good-quality film or well-coated insert often looks identical in normal use, but cheap options may add haze or reflections in bright scenes.
Is tempered glass safe for Quest 3 lenses?
Many people use glass-style protectors without issues, but thickness and edge reflections are the main risks. If you use a non-standard facial interface or keep lenses close to your eyes, thin film can be the safer bet.
Do I still need a protector if I never wear glasses?
Often yes if you clean frequently or travel with the headset. Micro-scratches can come from dust and wiping habits, not just glasses contact.
What’s the easiest way to avoid dust during installation?
Turn off fans, use angled lighting, and do a final dust-sticker pass right before you lay the protector down. The last 10 seconds before application matter more than the first 10 minutes of cleaning.
Can I use alcohol wipes to clean the lenses before applying?
It depends on the manufacturer guidance for your headset and protector. Many VR optics care guides recommend sticking to dry microfiber for lenses, so it’s safer to follow official instructions rather than improvising.
Are prescription lens inserts worth it for Quest 3?
For glasses wearers, usually yes for comfort and scratch prevention. The main tradeoff is cost and picking a brand with reliable coatings, so read feedback about glare and clarity rather than only focusing on price.
How often should I replace a Quest 3 lens protector?
Replace it when you see visible scuffs, edge lifting, or persistent smears that don’t wipe away. Some last a long time, others wear faster if you clean aggressively or play sweaty sessions.
If you’re trying to keep a Quest 3 in “like new” condition, a protector is the low-effort move that prevents the expensive kind of regret. If you want a more hands-off setup, lens inserts are usually the simplest long-term option, especially if glasses are part of your routine.