
How to record vr gameplay comes down to two decisions: where the game runs (standalone headset vs PC VR) and where you want the video to end up (on-headset file, PC file, or a capture card feed).
If you have tried before, you already know the common pain points: shaky footage, mic audio missing, menus showing instead of the game, or performance drops the moment you hit record. The good news is you can avoid most of that with the right method and a few settings.
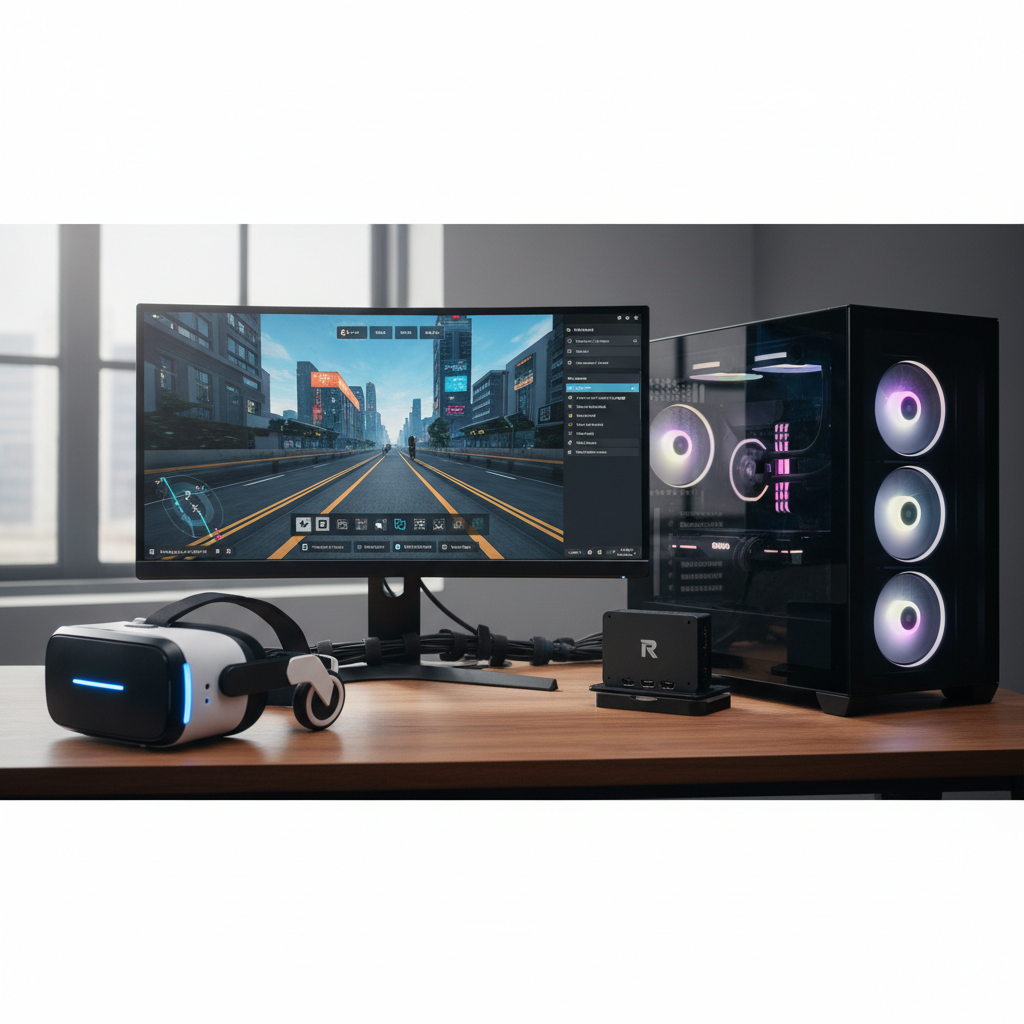
This guide breaks down the practical options for Meta Quest-style standalone recording, PC VR recording with OBS, and capture card workflows for streamers. You will also get a quick checklist to pick the right path, plus settings that usually make VR footage look less dizzy for viewers.
Pick your recording method (fast decision checklist)
Before touching settings, match your setup to a recording route. Most frustrations happen when people force a method that does not fit their hardware.
- Standalone headset (no PC): easiest, quality is “good enough” for clips, limited control over bitrate and audio mixing.
- PC VR (Link/Air Link/SteamVR): best control, easiest to polish, depends on PC headroom.
- Capture card (HDMI/console-style workflow): stable for long sessions, great for streaming, more gear and routing.
Quick self-test: if recording makes your game stutter, you probably need to lower capture settings, use a different encoder, or offload capture to a second PC or capture card.
Recording on a standalone headset (Meta Quest and similar)
If your VR game runs directly on the headset, you can record without a computer. This is usually the simplest way to answer “how to record vr gameplay” for casual creators.
Use built-in recording (best for clips and quick tutorials)
- Open the headset’s quick menu, find Record, then start capture.
- Decide whether you need mic audio. Many headsets let you toggle microphone capture separately.
- Stop recording, then export to your phone app or transfer to a computer for editing.
According to Meta, Quest headsets support built-in video capture and sharing options through the system UI and the Meta Quest mobile app. Exact options vary by headset model and OS version.
Common issues (and what usually fixes them)
- Mic not recorded: check headset privacy permissions and the mic toggle before recording.
- Video looks soft: this is often normal for on-device capture; improve clarity with good lighting in mixed reality scenes, or sharpen slightly in editing.
- Storage runs out: VR video files get large fast, clear space before long sessions.
Recording PC VR gameplay with OBS (best balance of quality and control)
If you play VR through a PC (SteamVR, Oculus PC app, OpenXR), OBS Studio is the most flexible option for recording and streaming. This is the route most people end up choosing when they care about clean audio and consistent frame pacing.
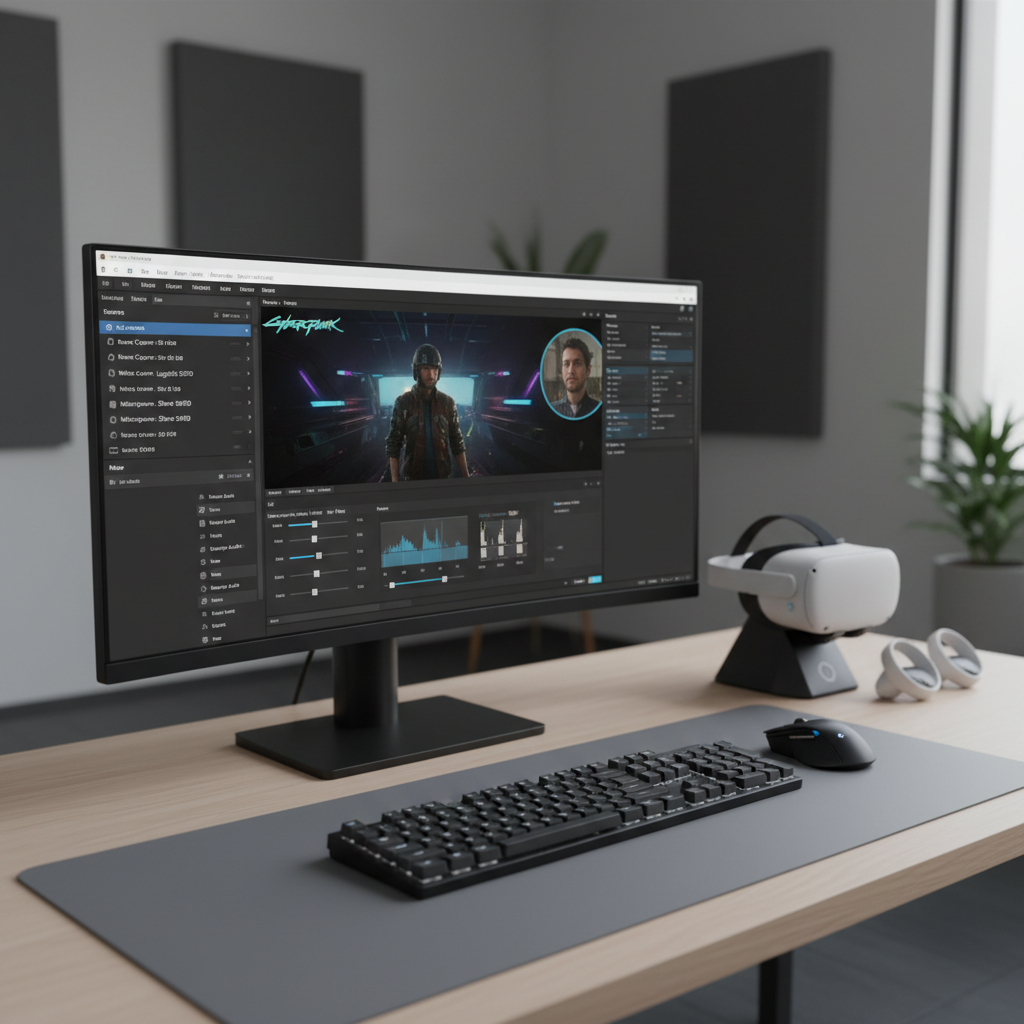
What to capture: game mirror vs SteamVR view
- Game mirror window: many VR games show a “spectator” or mirror view on the monitor. Capturing this window is usually simplest.
- SteamVR/OpenXR mirror: useful when the game mirror is missing or weirdly cropped.
- OBS VR plugin tools: optional, but can help with stabilization and better framing depending on the game.
According to OBS Studio documentation, using the right capture source (Game Capture vs Window Capture) can reduce capture overhead and improve reliability, though results vary by game and anti-cheat behavior.
Recommended OBS settings that usually work
There is no single perfect preset, but these are solid starting points for most mid-range to high-end gaming PCs.
- Resolution: record at 1080p for most platforms, unless your PC has plenty of headroom.
- FPS: 60 fps looks best for motion-heavy VR clips, but 30 fps can be acceptable for tutorials.
- Encoder: use hardware encoding (NVENC/AMF/Quick Sync) when available to reduce CPU load.
- Bitrate: for local recording, consider 20–40 Mbps at 1080p60 depending on motion and encoder.
If your capture looks “juddery,” it is often a frame pacing issue rather than pure bitrate. Try lowering the recorded resolution, switching encoder, or closing background apps first.
Audio: game sound, your mic, and VR chat (the part everyone underestimates)
Good audio is what separates “watchable” from “people actually stay.” In VR, audio routing can get messy because the headset, Windows, SteamVR, Discord, and the game can all fight for default devices.
A practical routing approach
- Set Windows default output to your VR headset headphones (or the device you actually listen on).
- In OBS: add your mic as a dedicated source, do not rely only on “Desktop Audio” if it is unreliable.
- For Discord/VRChat: confirm input/output devices inside the app, not just in Windows.
Quick audio sanity check (60 seconds)
- Record a 10-second test clip.
- Speak, trigger a loud in-game sound, and have a friend talk in voice chat if relevant.
- Replay and verify you hear all three at usable levels, with no clipping.
If you hear echo or double audio, you are likely capturing the same output twice (for example, Desktop Audio plus an application audio capture). Remove one and retest.
Comfort and motion: make VR footage less nauseating
Even if your gameplay feels fine in the headset, the recorded video can look chaotic on a flat screen. This is where viewers bounce, especially on fast shooters or rhythm games.
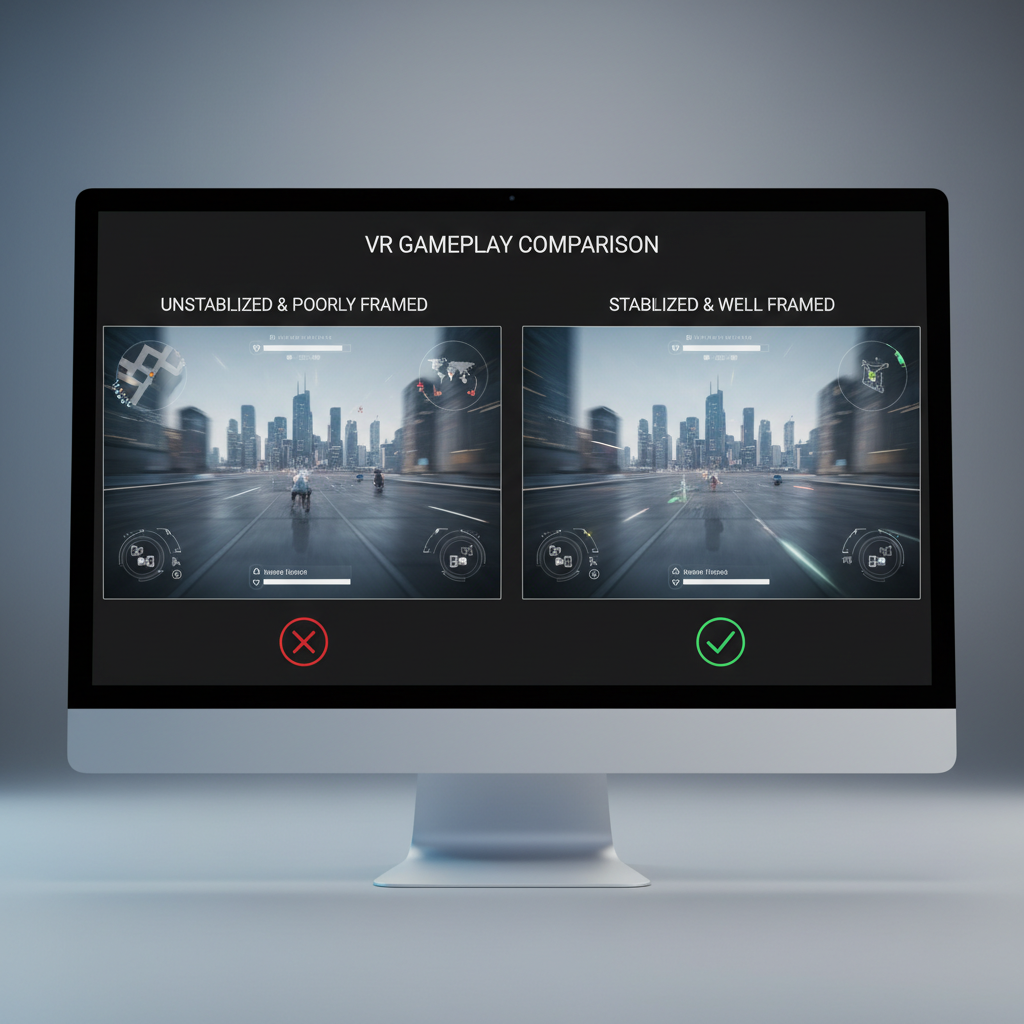
- Prefer a stabilized spectator camera when the game offers it, many titles do.
- Widen FOV carefully: wider can feel better for viewers, but may distort at edges depending on the mirror source.
- Avoid aggressive head-snap edits: cut on calmer moments, not during rapid turns.
- Add a small reticle or horizon cue only if it helps, overdoing overlays can annoy viewers.
Health note: VR motion can contribute to discomfort for some people. If you feel dizzy or unwell while recording, stopping and taking a break is the safer call, and persistent symptoms deserve professional advice.
Method comparison table (choose based on your goal)
If you are still deciding how to record vr gameplay, this table usually clarifies the trade-offs.
| Method | Best for | Pros | Cons |
|---|---|---|---|
| Headset built-in recording | Quick clips, casual sharing | Simple, no extra gear | Limited control, audio quirks, storage limits |
| PC VR + OBS | YouTube videos, tutorials, higher quality | Full control, better audio mixing, easy editing | Needs PC headroom, setup time |
| Capture card | Streaming stability, long sessions | Reliable, can offload workload | More hardware, more troubleshooting |
Step-by-step: a reliable workflow you can repeat
This is the repeatable process that avoids most “why is my video broken” nights.
- Step 1: Decide output: local recording, livestream, or both.
- Step 2: Do a 10-second test to confirm video framing and three audio layers (game, mic, chat).
- Step 3: Lock settings for the session, avoid tweaking mid-record unless something is clearly wrong.
- Step 4: After recording, spot-check the middle of the file, not just the first minute.
- Step 5: Keep a simple notes file: game title, capture method, what worked, what did not.
Key takeaway: most VR recording problems are predictable, so a short test clip saves more time than any “advanced” setting.
Common mistakes (and what to do instead)
- Mistake: recording at 4K because “higher is better.” Do instead: record 1080p60 cleanly, upscale later if you must.
- Mistake: leaving audio on defaults. Do instead: explicitly pick devices in Windows, game, and OBS.
- Mistake: blaming bitrate for stutter. Do instead: check encoder load and frame pacing, then reduce capture resolution.
- Mistake: capturing the headset view when a spectator camera exists. Do instead: use spectator mode for smoother viewer experience.
Conclusion: get a clean first recording, then improve one thing at a time
If you are learning how to record vr gameplay, aim for a boring win first: stable 1080p video, clear game audio, and a mic track you can understand. Once that baseline works, upgrades become obvious, better framing, better audio mix, maybe a capture card if you outgrow software capture.
Your next action: record a 10-second test clip today with your chosen method, then only change one setting at a time until the result looks and sounds right.