
how to improve vr graphics quality usually comes down to three levers you can actually control: resolution (clarity), frame timing (smoothness), and compression or rendering shortcuts (artifacts). If any one of those is off, VR can look blurry, shimmering, or oddly “low-detail” even on expensive hardware.
The tricky part is that VR graphics are a system problem, not just a “turn the slider up” problem. Your headset, runtime (SteamVR/Oculus/OpenXR), GPU driver, USB/Wi‑Fi link, and the game’s own settings all stack on top of each other. One mismatch can waste performance and still look worse.
This guide helps you diagnose what’s limiting you, then apply changes in the order that tends to matter most. You’ll also get a quick table of settings that typically improve visual quality without turning your frame rate into a mess.
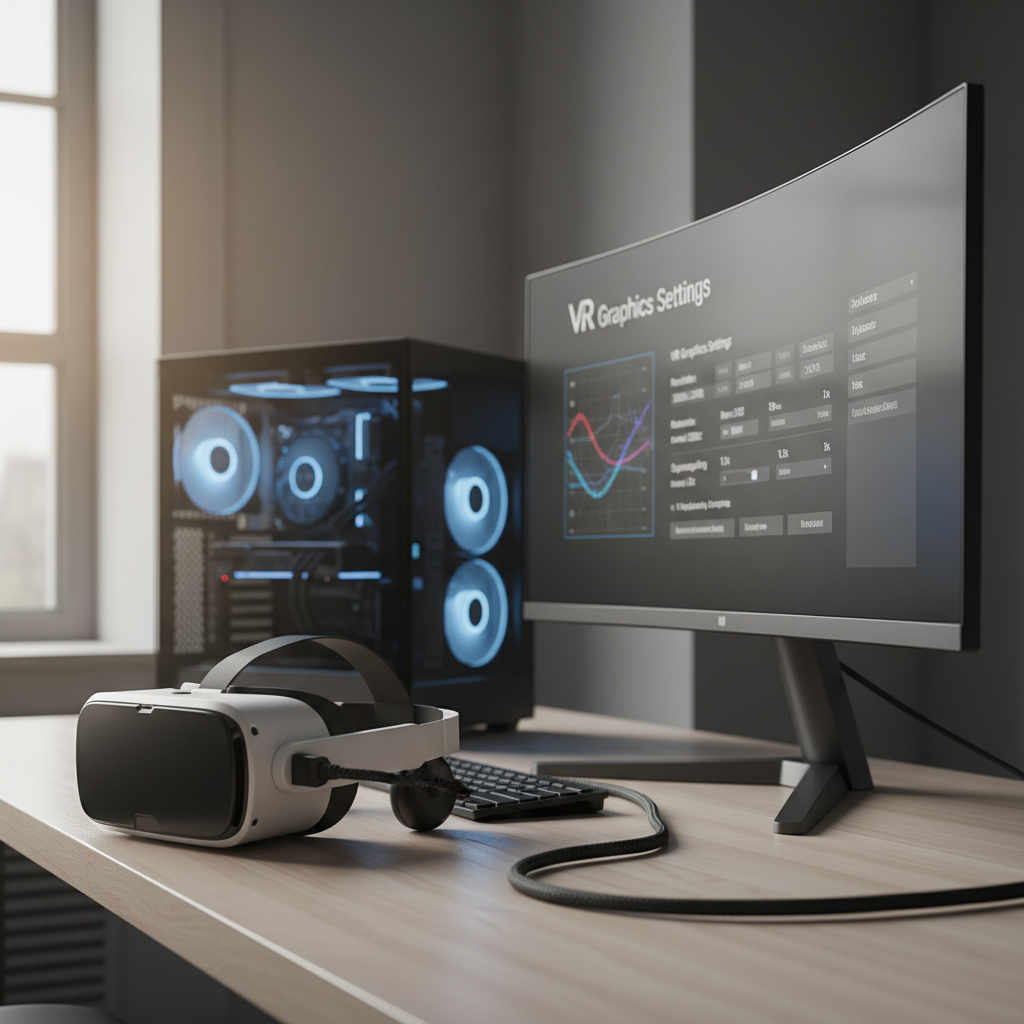
Start with the bottleneck: clarity vs smoothness vs artifacts
If you change ten settings at once, you’ll never know what helped. A faster way is to identify what you’re seeing, then target the likely cause.
- Blurry image: render resolution too low, wrong IPD fit, lens smudges, aggressive foveated rendering, or compression (especially on wireless/USB streaming).
- Shimmering edges / crawling textures: anti-aliasing or sharpening mismatch, undersampling, or overly strong post-processing.
- Stutter / judder: CPU/GPU frametime spikes, background apps, thermal throttling, or reprojection kicking in.
- Blocky artifacts: bitrate too low, Wi‑Fi congestion, USB bandwidth issues, or encoder settings.
Key idea: in VR, a stable frame rate at your headset’s refresh rate often looks “higher quality” than higher resolution that can’t be sustained.
Do a quick self-check before changing settings
These checks sound basic, but they prevent hours of chasing phantom “graphics” issues that are actually fit, cleanliness, or connectivity.
- Clean lenses with a microfiber cloth, avoid household cleaners that can damage coatings.
- IPD adjustment: set your headset’s IPD to your measured or best-estimate value; small errors can look like low resolution.
- Headset positioning: slightly higher/lower on your face can snap text into focus.
- Disable overlays you don’t need (capture tools, performance overlays) to reduce frametime spikes.
- Update GPU drivers and your VR runtime; if something just broke, rolling back a driver is sometimes the real fix.
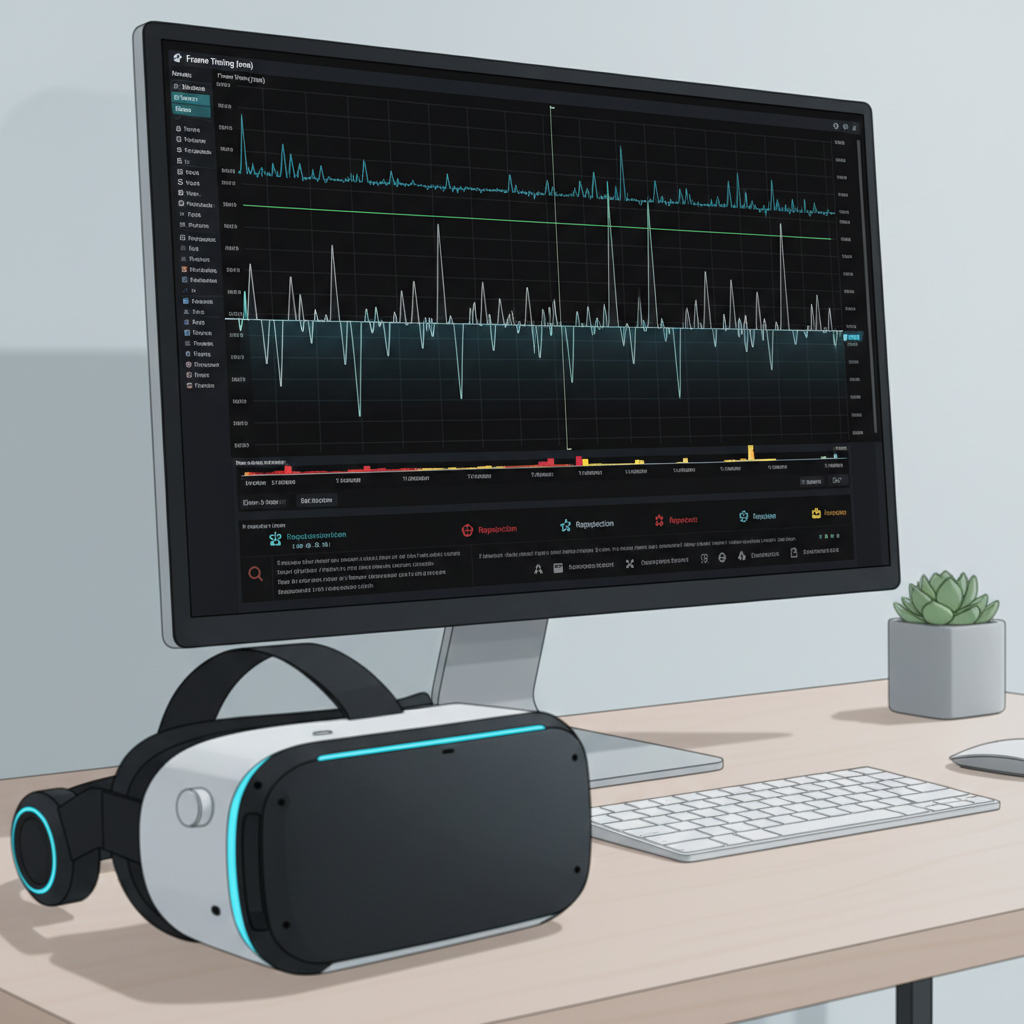
According to Valve (SteamVR documentation), maintaining consistent frame timing is critical to comfort and perceived smoothness, which is why performance headroom matters when you push resolution.
Use resolution and supersampling the right way (without wasting GPU)
When people ask how to improve vr graphics quality, they usually mean “make it sharper.” The best lever is render resolution, but you want to raise it where it counts, not double-scale it accidentally across multiple layers.
Avoid “double supersampling”
Resolution can be set in multiple places: headset software, SteamVR (or OpenXR runtime), and inside the game. If two of them upscale, you can crush performance for only a modest visual gain.
- Pick one primary place to control global render scale (often SteamVR or the headset app).
- Use the game’s internal resolution scale only if it’s clearly documented and you can measure the impact.
- After each change, check your frame timing or FPS indicator for stability.
Practical targets that often work
- Entry GPUs / demanding games: aim for stable refresh rate first, then raise resolution in small steps (5–10%).
- Midrange to high-end GPUs: try a moderate supersample increase, then tune anti-aliasing and sharpening to reduce shimmer.
Good habit: increase resolution until you’re close to dropping frames in heavy scenes, then back off slightly to keep headroom.
Refresh rate, reprojection, and why “higher Hz” can look worse
Higher refresh rates can feel better, but only if your system can actually feed frames consistently. If you set 120Hz and your PC can’t hold it, you may end up with reprojection artifacts that look like warping or ghosting.
- 72/80/90Hz: often the sweet spot for image quality because you can allocate more GPU budget to resolution and effects.
- 120/144Hz: great when you have headroom; otherwise you might see more artifacts than you expect.
- Motion smoothing / ASW / reprojection: can save comfort, but may reduce perceived clarity during fast movement.
According to Meta (Quest support documentation), Link and Air Link quality depends on maintaining a stable connection and enough performance headroom, which is why refresh rate and bitrate choices are tied together in practice.
Game settings that usually pay off (and the ones that don’t)
Not all “Ultra” settings help in VR. Some add blur or cost a lot for subtle gains inside a headset.
| Setting | Usually helps VR clarity? | Performance cost | Editor’s take |
|---|---|---|---|
| Texture quality | Yes (if you have VRAM) | Low–Medium | Raise it if you’re not hitting VRAM limits; blurry textures often come from low texture settings. |
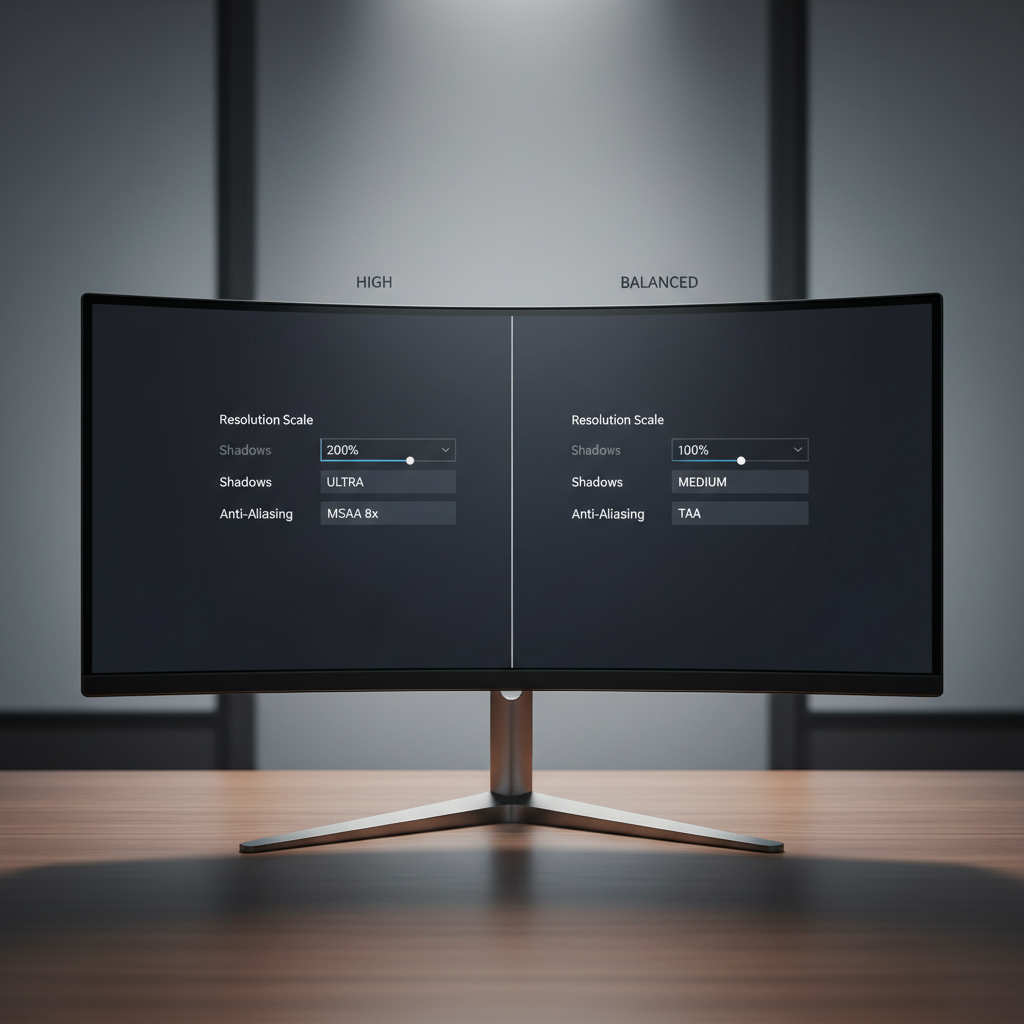
| Anti-aliasing | Yes (reduces shimmer) | Medium | Try MSAA/TAA options carefully; too much TAA can look soft in VR. |
| Shadows | Sometimes | High | Medium shadows often look close to high in-headset, save frames for resolution. |
| Ambient occlusion | Sometimes | Medium–High | Nice depth, but it’s a common FPS killer in VR-heavy scenes. |
| Volumetrics/fog | Rarely for clarity | High | Looks cinematic on a monitor, can muddy the headset image. |
| Sharpening | Yes, in moderation | Low | Use lightly; too much creates halos and “crispy” noise. |
Quick win: drop shadows and volumetrics one notch, then spend that budget on higher render resolution.
Quest Link/Air Link and other streaming headsets: fix compression first
If you’re using a standalone headset to play PC VR, you’re not just rendering frames, you’re also encoding and transmitting video. That’s why “GPU is strong but it still looks muddy” is so common.
Common quality levers for streaming
- Bitrate: higher bitrate can reduce blockiness, but can introduce stutter if Wi‑Fi or USB can’t keep up.
- Codec/encoder load: different codecs and settings shift load between GPU and the encoder; the “best” choice varies by GPU generation.
- Wi‑Fi quality: congestion, distance, and router placement matter more than most people expect.
Practical steps that tend to help
- For Air Link or similar: use a strong 5GHz/6GHz network, keep the play area close to the router, reduce competing traffic.
- For USB Link: use a high-quality cable and a reliable USB port, avoid hubs if you see instability.
- Raise bitrate gradually and stop at the point you start seeing spikes or hitching.
According to NVIDIA (driver documentation and app guidance), keeping drivers updated and avoiding unstable overclocks can reduce crashes and frame pacing issues, which show up in VR as stutter more than in flat games.
A repeatable tuning plan (15–30 minutes) you can actually follow
This is the part most guides skip: the order. Changing settings in the wrong order wastes time and masks improvements.
- Step 1: pick a test scene that reliably stresses the game (busy area, combat, dense foliage), stay there for comparisons.
- Step 2: lock a refresh rate you can sustain (many setups do well at 80–90Hz), confirm stable frame timing.
- Step 3: raise render resolution in small steps until you’re near the edge, then back off slightly.
- Step 4: fix shimmer with anti-aliasing, then add a touch of sharpening if needed.
- Step 5: only then increase “expensive” eye candy like shadows or AO, one at a time.
Key takeaway: sharper VR comes from balanced settings, not max settings, and the balance depends on whether you’re native PC VR or streaming.
Common mistakes that quietly hurt VR graphics quality
- Chasing ultra textures while out of VRAM: once you overflow VRAM, stutter and texture streaming can make visuals worse.
- Forcing global driver sharpening too aggressively: it can add ringing artifacts around text and edges.
- Maxing refresh rate on day one: it can force reprojection, which looks like “bad graphics” even though it’s a timing issue.
- Ignoring thermal throttling: laptops and small-form PCs can downclock under load, creating random drops.
- Stacking resolution scaling in three places: the classic double supersampling trap.
If you feel eye strain, headaches, or nausea while testing, stop and take a break; comfort varies by person and setup, and if symptoms persist it may be worth discussing with a healthcare professional.
Conclusion: what to do next
Improving VR visuals is less about a secret setting and more about making sure your headset hits a stable frame target, then spending your remaining budget on resolution and smarter in-game choices. If you keep changes incremental and test in the same scene, you’ll get to “sharp and smooth” faster than you think.
Action plan: set a sustainable refresh rate today, then increase render resolution in 5–10% steps until you’re just below the stutter line, after that fine-tune anti-aliasing and streaming bitrate based on what you actually see.